Expo App
PlayTorch is powered by PyTorch Mobile and React Native. Both are active and flourishing open source projects. Expo is an amazing tooling for React Native that makes it incredibly easy to get started with React Native app development.
More details about Expo is here: https://docs.expo.dev/introduction/expo/
In this tutorial, you will use Expo CLI to create an Expo/React Native app with the PlayTorch SDK (i.e., react-native-pytorch-core).
Installation
As a first step, let's follow Expo's installation instructions to set up the development environment for Android and iOS.
Set up the Expo dependencies
The Expo docs have very detailed step by step guide to install development requirements. Follow their installation instructions on: https://docs.expo.dev/get-started/installation/
Create a New Project
Now that we have set up the Expo environment, let's create a new PlayTorch project and run it in an emulator or on your device.
Initialize Your Project
Use the npx create-expo-app command to initialize your first PlayTorch project.
npx create-expo-app my-app
This is what you should see after the Expo app is created:
❯ npx create-expo-app my-app
✔ Downloaded and extracted project files.
✔ Installed JavaScript dependencies.

✅ Your project is ready!

To run your project, navigate to the directory and run one of the following npm commands.

- cd my-app
- npm run android
- npm run ios
- npm run web
Add PlayTorch SDK
Great! Next, we will add the PlayTorch SDK (i.e., react-native-pytorch-core) to the app project. Let's navigate to the newly created app project folder:
cd my-app
Then, run the npx expo install command to install the react-native-pytorch-core package.
npx expo install react-native-pytorch-core
❯ npx expo install react-native-pytorch-core
› Installing 1 other package using npm
> npm install --save react-native-pytorch-core

added 1 package, and audited 1123 packages in 2s

52 packages are looking for funding
  run `npm fund` for details

found 0 vulnerabilities

› Added config plugin: react-native-pytorch-core
Create Expo Prebuild
Because PlayTorch SDK has native dependencies (C++, Java, Swift), we need to build a custom native app rather than using the Expo Go app. The following command will generate the native source code for Android and iOS (i.e., it will create android and ios folders within the app project automatically including all configurations described in the Add Package to Existing App tutorial.)
npx expo prebuild
❯ npx expo prebuild

📝  Android package Learn more

✔ What would you like your Android package name to be? … com.raedle.myapp


📝  iOS Bundle Identifier Learn more

✔ What would you like your iOS bundle identifier to be? … com.raedle.myapp

✔ Created native projects | gitignore skipped
✔ Added Metro config
✔ Updated package.json and added index.js entry point for iOS and Android
› Removed "main": "node_modules/expo/AppEntry.js" from package.json because we recommend using index.js as main instead

› Installing using npm
Warning: This command requires version ^2.1.0 of `sharp-cli`.
Currently installed version: "1.15.0"
Required version: "^2.1.0"
You can install it using `npm install -g sharp-cli@^2.1.0`.

For prerequisites, see: https://sharp.dimens.io/en/stable/install/#prerequisites
» android: userInterfaceStyle: Install expo-system-ui in your project to enable this feature.
✔ Config synced
✔ Installed pods and initialized Xcode workspace.
Run Your Project
We are almost there. Now let's run the app project on Android and iOS:
- Android
- iOS
npm run android
npm run ios
If the command fails with a "Watchman error", create an empty .watchmanconfig file in the app project root as follows:
echo "{}" > .watchmanconfig
By default, the PlayTorch app will run in an emulator. You can also run it on your own phone which may improve performance. To run it on your phone, connect your phone to your computer and enable Android's developer mode.
- Android
- iOS
On Android 4.1 and lower, the Developer options screen is available by default. On Android 4.2 and higher, you must enable this screen. To enable developer options, go to Settings > Developer options and tap the Build Number option 7 times.
More details are on the Android configure on-device developer options.
Use PlayTorch SDK
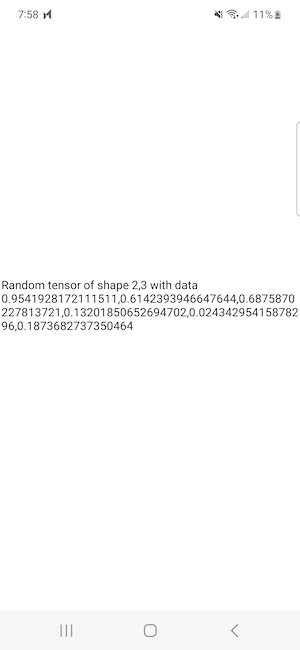
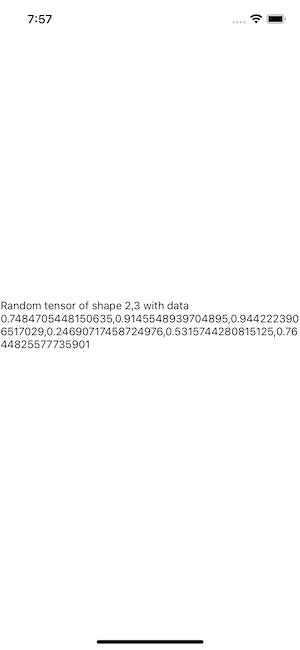
Last, let's use the PlayTorch SDK. The example below edits the App.js file in the app project root by adding a React state, initialing it with a random tensor, and then rendering the tensor shape and tensor data in the app UI.
import { useState } from 'react';
import { StatusBar } from 'expo-status-bar';
import { StyleSheet, Text, View } from 'react-native';
import { torch } from 'react-native-pytorch-core';

export default function App() {
  const [tensor, _setTensor] = useState(torch.rand([2, 3]));
  return (
    <View style={styles.container}>
      <Text>{`Random tensor of shape ${tensor.shape} with data ${tensor.data()}`}</Text>
      <StatusBar style="auto" />
    </View>
  );
}

const styles = StyleSheet.create({
  container: {
    flex: 1,
    backgroundColor: '#fff',
    alignItems: 'center',
    justifyContent: 'center',
  },
});
- Android
- iOS
That's it. You created your first React Native/Expo app with PlayTorch SDK! Get inspired by PlayTorch SDK uses shown in one of the tutorials.
PlayTorch is in beta. Your feedback will help us improve tremendously. Please file issues and share ideas on GitHub.
Show us what you've made with PlayTorch by tagging #playtorch in your social media posts.