Server Model
In this tutorial, we will be creating a simple webserver with a Python framework called Flask to serve a pretrained text generation model.
We will walk through the following steps:
- Set up environment
- Run a pretrained model
- Create Hello World Flask app
- Expose model via Flask server
Set up environment
First things first, let's create a directory where we can keep all of our code. To do that, open your terminal and make a new directory called ptl-server by running the following command:
mkdir ptl-server
Now that the directory is created, let's go into it by running:
cd ptl-server
In this directory, we will create a Python virtual environment. Python 3 has built in support for virtual environments. Make sure you have Python 3 installed and then create your new virtual environment by running:
python3 -m venv ./venv
Now if we check the contents of our directory by running ls we will see a new subdirectory called venv.
We can activate our virtual environment by running:
source ./venv/bin/activate
Now that we have activated our virtual environment, any dependencies we install will stay local to this project. Isolating dependencies per project means we avoid any version management issues-- think cross contamination.
You also can deactivate your virtual environment at anytime by running deactivate, but we want to remain in our virtual environment for now, so don't run that :) But if you do, just activate it again with the same command from before.
Run a pretrained model
For this tutorial, we will be using Eleuther AI's GPT-3 model from Hugging Face to generate text based on a user submitted prompt.
Install dependencies
First, we need to install PyTorch and transformers, the library maintained created by Hugging Face that helps download and run models that they host. Install it by running:
pip install torch transformers
Now, as a good practice to keep track of our dependencies, let's save our pip dependencies in a requirements file. We can do that by running:
pip freeze > requirements.txt
If you check the requirements.txt file, you will notice torch and transformers are listed with their version numbers and the other entries are the packages they depend on.
Instantiate model pipeline
Now let's write the code that interacts with the GPT-3 model.
Make a new file in the directory called gpt.py. Import pipeline from transformers and define a function called generate that accepts a parameter called prompt.
from transformers import pipeline

def generate(prompt):
    pass
Now we need to instantiate a pipeline to run the GPT-3 model and use it within our function to generate text based off the prompt parameter.
We'll add some print statements so we know what is happening when we run it.
from transformers import pipeline

print("Instantiating model...")
gpt_pipeline = pipeline('text-generation', model='EleutherAI/gpt-neo-1.3B')
print("Model instantiated!")

def generate(prompt):
    print("Running model with prompt: ", prompt)
    model_output = gpt_pipeline(prompt, do_sample=True, min_length=50)
    generated_text = model_output[0]["generated_text"]
    print("Model done running!")
    return generated_text
Test run model pipeline
Now that we have are pipeline ready to run, let's write a small test file called test_gpt.py so we can see it in action. We won't do any assertions, we'll just be trying to see what the output is like.
from gpt import generate

result = generate("I love chicken so much that")
print("Result: ", result)
We can run this from the terminal with the simple command:
python test_gpt.py
The first time it runs, it will download the model which is about 5.3GB of data. Subsequent runs will go faster.
Also, when run from a script like this, the pipeline has to be created every run. That is an additional ~1-3 minutes of runtime. Once we have a server, that pipeline creation will happen once on start, so calls to the server won't have to wait.
You should see some kind of output like:
Instantiating model...
Model instantiated!
Running model with prompt: I love chicken so much that
Model done running!
Result: I love chicken so much that I am always looking for it and that is why I often cook with my mom especially when my sister is visiting. There are so many good recipes for chicken (not that we have a lot!). My mom’s
We did it! We got GPT-3 running! Now let's get a simple server going so we can make this model usable by other devices.
Hello World Flask app
Flask is a popular Python server framework. It enables us to connect to clients over http with just a few lines of code.
Install dependencies
To get started we need to install Flask and flask-cors with pip and then we will update our requirements.txt file to have our new dependencies.
pip install Flask flask-cors
pip freeze > requirements.txt
Write initial server code
With the dependencies installed, we are ready to create our server. Let's create a file called server.py and add the following code:
from flask import Flask
from flask_cors import CORS

app = Flask(__name__)
CORS(app)

@app.route("/")
def hello_world():
    return "<p>Hello, World!</p>"

app.run(host="0.0.0.0")
Let's walk through what this code does:
- We import the
Flaskdependency and then theCORSdependency. - We create a new
Flaskserver instance that we callapp. - We use the
CORSfunction on ourappto allow any device to access our server. - We create a function called
hello_worldthat simply returns html that says "Hello, World!". - We tell the
appto run ourhello_worldfunction when it gets a request to the index endpoint"/". - We start our server by calling
app.run(host="0.0.0.0")and use `host="0.0.0.0" to make it accessible by external devices.
Let's run it and see what it does! Run the following command in your terminal:
python server.py
You should get some output that looks like this:
 * Serving Flask app 'server' (lazy loading)
 * Environment: production
   WARNING: This is a development server. Do not use it in a production deployment.
   Use a production WSGI server instead.
 * Debug mode: off
 * Running on http://127.0.0.1:5000/ (Press CTRL+C to quit)
Let's open up our web browser to the the link it provides. The link is just IP address that redirects to your local machine at port 5000.
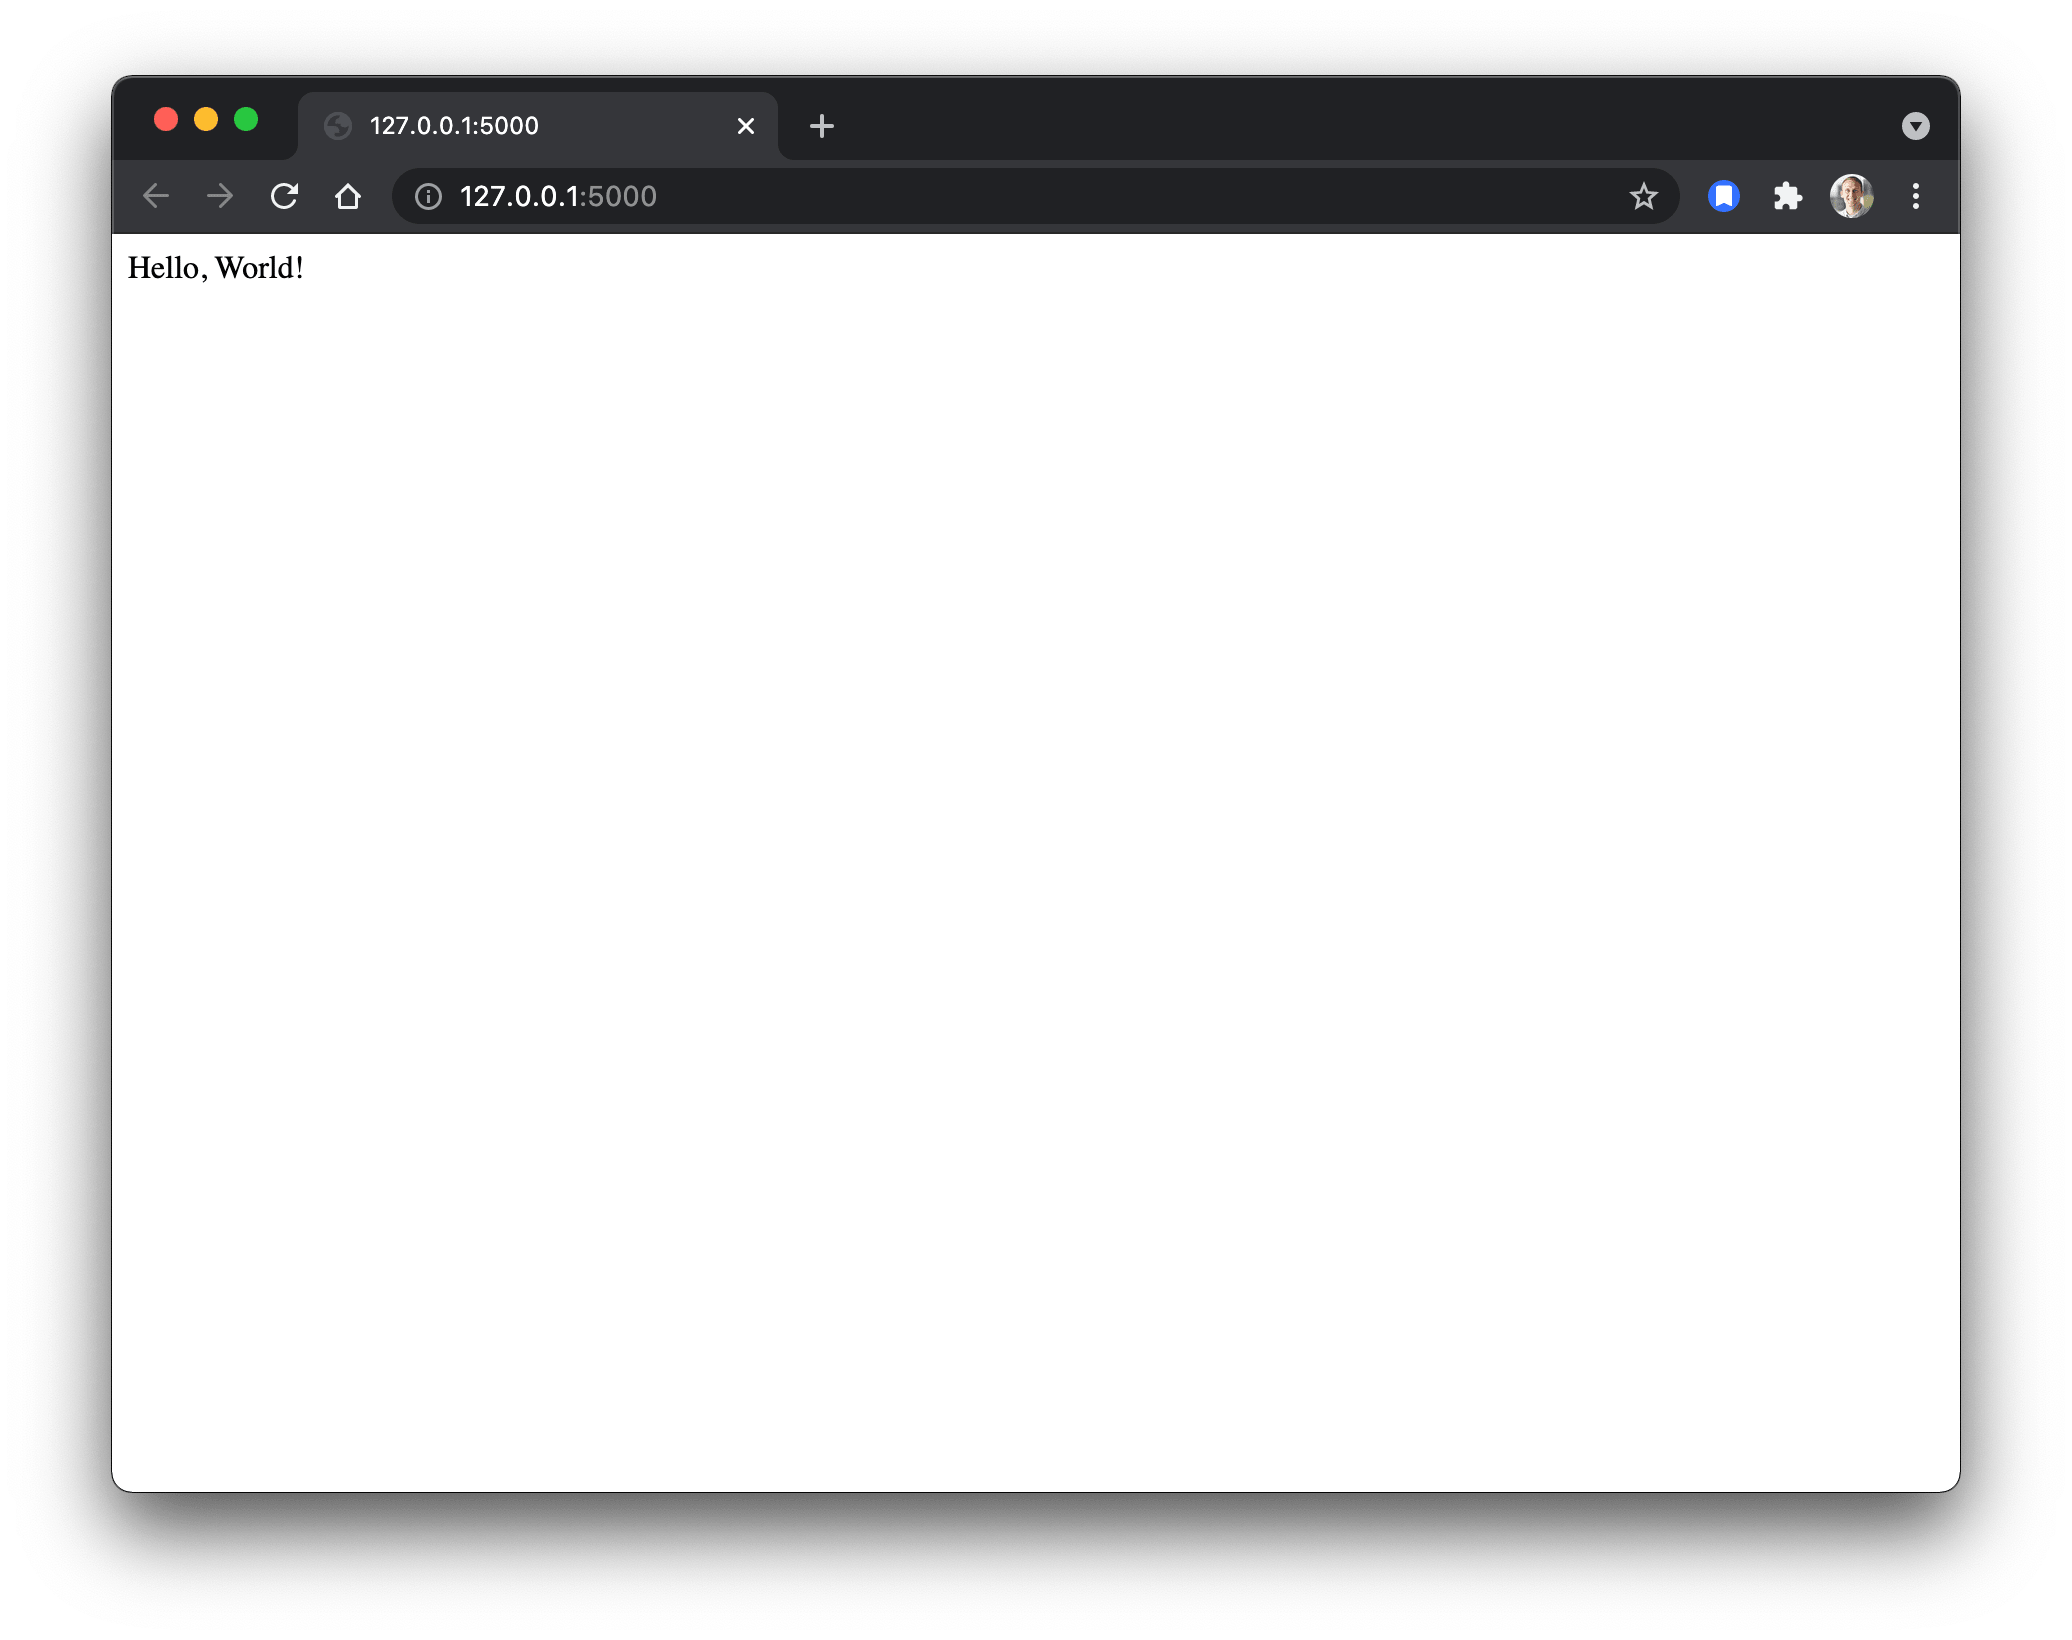
Voila! Our server responds to our browser's request with the "Hello, World!" that we told it to.
Accepting input to the server
Now let's enhance our server to make it so we can receive input from a client.
We'll do this by adding a new function to our server called echo that simply returns a JSON object containing what the user sent. We'll make it so a client can send a POST request to the endpoint /echo to trigger our new function.
Note that we also take a couple more dependencies from the flask module on line 1.
from flask import Flask, jsonify, request
from flask_cors import CORS

app = Flask(__name__)
CORS(app)

@app.route("/")
def hello_world():
    return "<p>Hello, World!</p>"

@app.route("/echo", methods=["POST"])
def echo():
    data = request.form
    user_said = data["text"]
    response = jsonify({"echo": user_said})
    return response

app.run(host="0.0.0.0")
Now that we have an endpoint ready to accept our input, let's run our server and test it out with the form below. Whatever you put in the value box should come back from the server.
Expose model via Flask server
So we have gotten a machine learning model running and a server that we can talk to from any client. Now let's hook the two up so we can run ML from any client!
Let's make a new endpoint just like our /echo endpoint, but instead of just returning what we get from the client, let's return the GPT-3 model's output.
from flask import Flask, jsonify, request
from flask_cors import CORS
from gpt import generate

app = Flask(__name__)
CORS(app)

@app.route("/")
def hello_world():
    return "<p>Hello, World!</p>"

@app.route("/echo", methods=["POST"])
def echo():
    data = request.form
    user_said = data["text"]
    response = jsonify({"echo": user_said})
    return response

@app.route("/gpt", methods=["POST"])
def gpt():
    data = request.form
    prompt = data["prompt"]
    generated_text = generate(prompt)
    response = jsonify({"generated_text": generated_text})
    return response

app.run(host="0.0.0.0")
Once you add the new gpt function and make it accessible at the /gpt endpoint, your server should reload itself and you should see our print statements from earlier in your server logs.
If not, kill your server by pressing ctrl + c and restart it.
It should take a while longer to start now that you are instantiating the pipeline.
Now let's test our text generation model with the form below. This time you should seen a JSON object with text that starts with your prompt and then continues with generated text!
You can find the completed versions of the source code we've written in this tutorial in the examples folder Pytorch Live GitHub repo.
Next steps
Want see how to connect to this server from an app? Check out our tutorial for connecting to our server from a React Native app.
Want to enhance your server to support a model with more complex input like images? Check out our tutorial with VQGAN + CLIP to generate images from text descriptions.